

Guide: How to Install a Silicone Heater Build Plate
Printed circuit boards (PCB) have long since been the gold standard for heated beds. The main advantage of a PCB heating source is the thermal distribution, keeping the temperature spread evenly across the entire surface. While these work great for small volume 3D Printers, larger sizes can take an excessive amount of time to reach temperature. This is where a Silicone Heater will shine, offering a much better heat output/power ratio and usually capable of reaching 60 °C in less than 90 seconds.
Should every 3D Printer be upgraded to Silicone Heater? Probably not. It is however a noticeable improvement, and capable of reaching higher temperatures than the alternative.
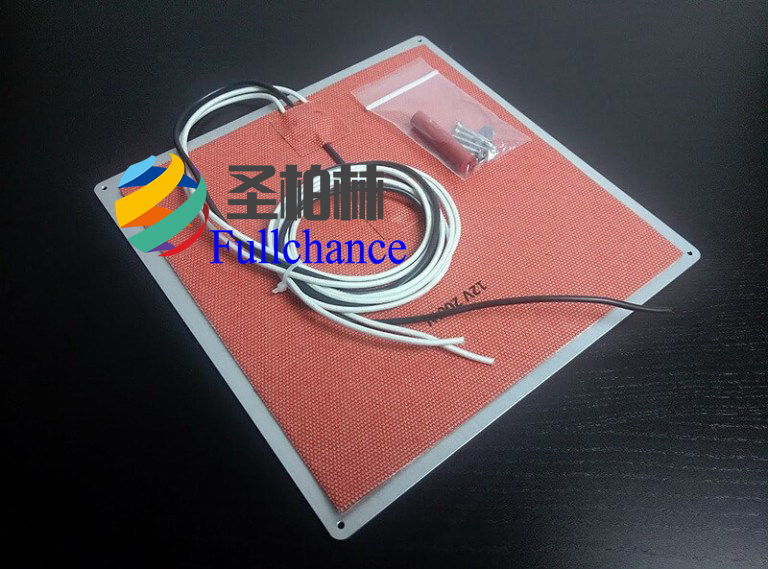
When writing a previous article on safety mods for the Anet A8, a defective heated bed connector was one of the most notable concerns. There were plenty of cheap workarounds available, but most were just band-aids for a larger problem. Disappointed with the results, I tossed it in the trash and decided to replace it instead. This was a perfect opportunity to try out one of the silicone heater mats sold at Gulfcoast Robotics, looking at both the steps for installation and differences in performance.
Installation Steps
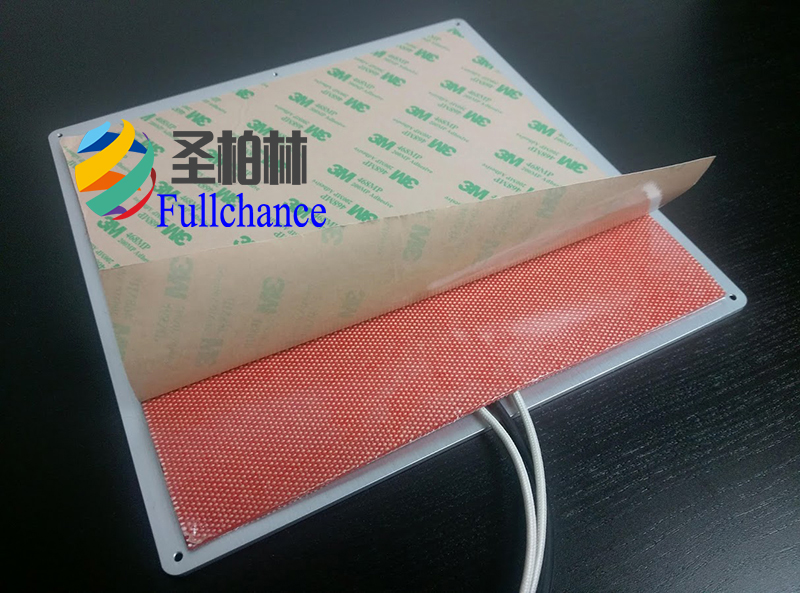
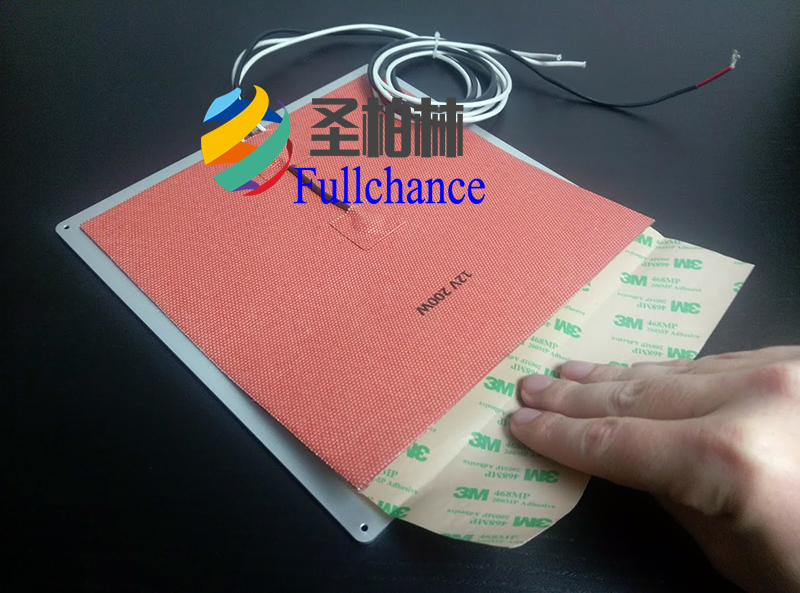
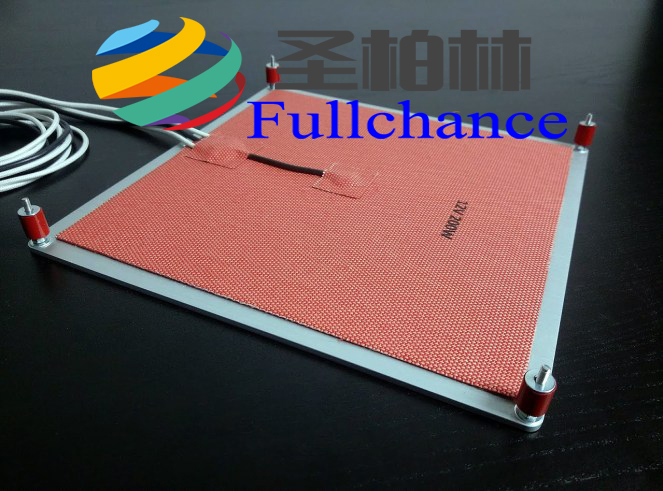
A silicone heater will often come with 3M adhesive backing in place, meaning we can just peel the protective sheet and stick it to the build plate. We don’t need to worry much about air bubbles, but it’s a good idea to press it out in segments and make sure it adheres with a solid bond.To get started, line up the silicone heater with the build plate right between the screw holes, and peel back about 1/4th of the protective sheet. Turn it over and carefully start to press the exposed adhesive down, using your fingers to smooth it out. Once you are satisfied, repeat this a few more times until the silicone heater has completely stuck to the surface.
 |
 |
heated bed hardware kit, go ahead and put the original screws and springs back on, then install the bed on the 3D Printer. Otherwise, the hardware kit comes with new bolts, lock nuts, washers and high temperature silicone tubing to replace the springs. Alternatively, most of this can be purchased at the local hardware store, and the tubing is sold online at McMaster-Carr.
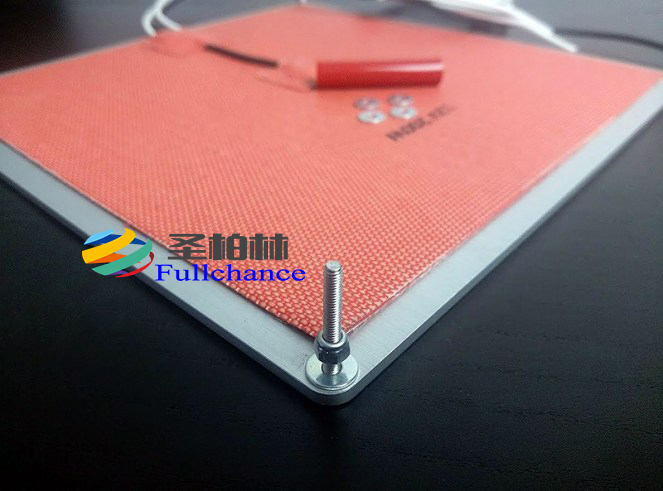
Now this bit is entirely personal preference, but I chose to put a washer at the base with a locking nut on top. On build plates with threaded holes this won’t matter as much, but it will secure the bolt in place and prevent movement that can otherwise affect the bed’s leveling.
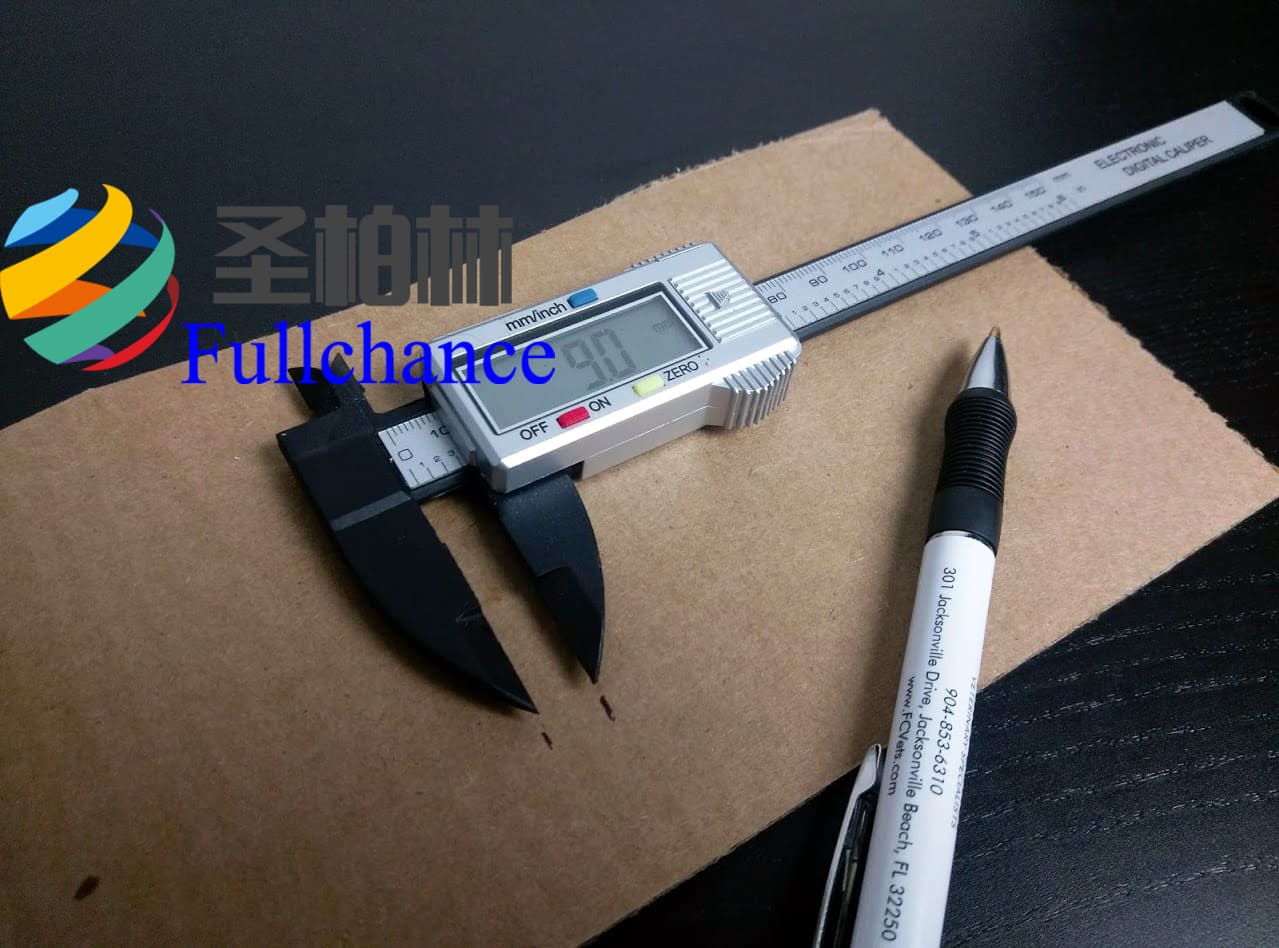
As the included silicone tubing is a single 50mm piece, we will first need to cut it down to (4) individual segments before we can use it. As per the product page, it is recommended to give each piece a length of around 9mm or so.
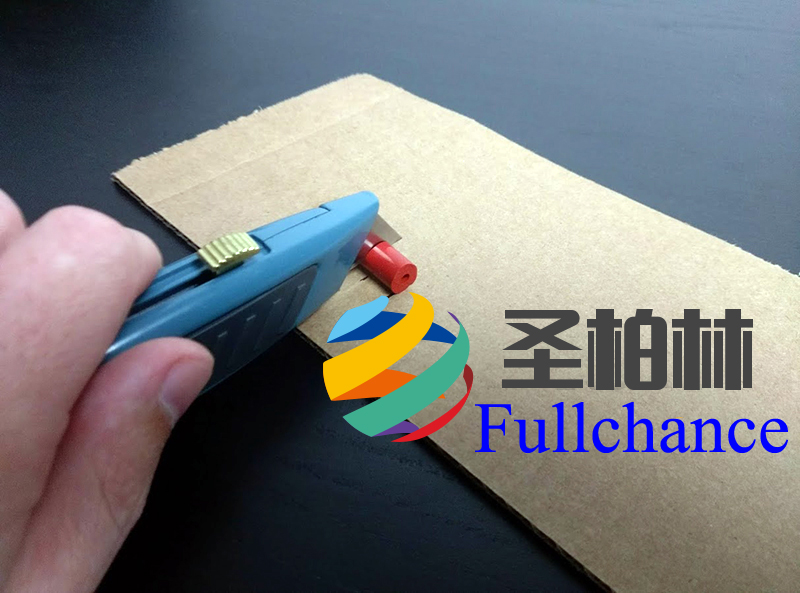
To keep things simple, I grabbed a piece of cardboard and measure out the desired length with digital calipers. I then marked the two endpoints as a guide, and the silicone tubing was placed in between them to make the cuts. They don’t have to be perfect, but get them as close as possible and clean up the ends with a straight edge razor before installation (box cutter works great).
 |
 |
Once the silicone tubing is cut down to size, we can go ahead and install it in place of the bed springs. Slide (1) piece of silicone tube on each screw and place a second washer on top of it. It will just sit on the nut for now, but as we tighten the corners down, the silicone will expand and cover it.
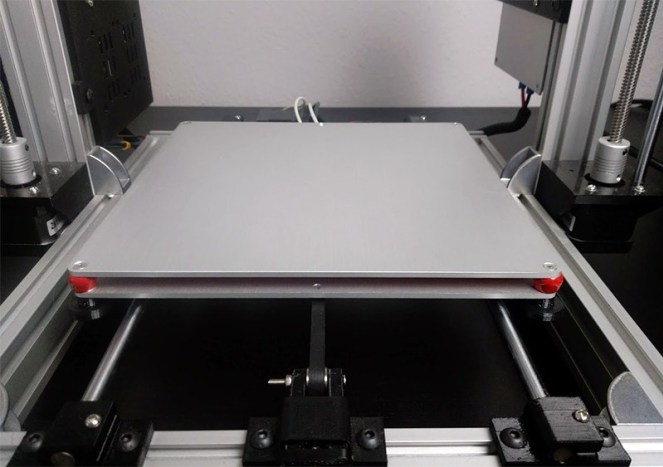
With the hardware installed, we can put the heated bed back on the 3D Printer and then start wiring it up. If you have spare M3 nuts on hand, you can thread one on the end of each screw to temporarily keep things in place, but otherwise just turn it over slowly and slide the screws in to the Y-carriage one at a time.
 customer service1